6.30.2010

a nice surprise


This morning I finally started cleaning out my childhood bedroom at my mom's and dad's.  Seriously...I have worked so hard to fight my hoarder tendencies as an adult.  Really, I'm pretty sure it's in my blood.  My old bedroom is full of stuff.  Tons of stuff.  I'm just thankful to get a grip on this hoarder thing after only being in our home a couple years...the main things that are helping me keep perspective on this are:  1) I do not want to leave a house full of stuff for my kids and grandkids to have to go through when I pass down the road.  2) My true treasures are stored in Heaven....and I should be gathering up those treasures...not earthly treasures.  (Now I'm not quite the crazy cat person you see on TLC on reality shows where they have dead cats in their home they didn't know about and a freezer packed with nasty old red meat from five years go. Yeah, I'm not like that.) However, I do know one thing...if I was writing a letter to me as a teen like Brad Paisley sings about...it would include.  "Throw things away.  Only hold on to the true keepsakes that you want to stay in the family.  You're 24 year old self will appreciate it."

Some items I have come across:

-my old Girl Scouts pens
-journal entries pouring my heart out about silly boys that make me laugh at myself now
-pictures, pictures, and more pictures (what do I do with all of those?!)
-clothes, clothes, and more clothes
-cards from Justin
-notes from my mom that she left for my brother and me every morning when she left for work before we were awake in the summer
-my elementary school writer's notebook
-the sash to my wedding dress that has been lying around since we changed to leave for our honeymoon the night of our wedding (two years ago)

I could go on and on....

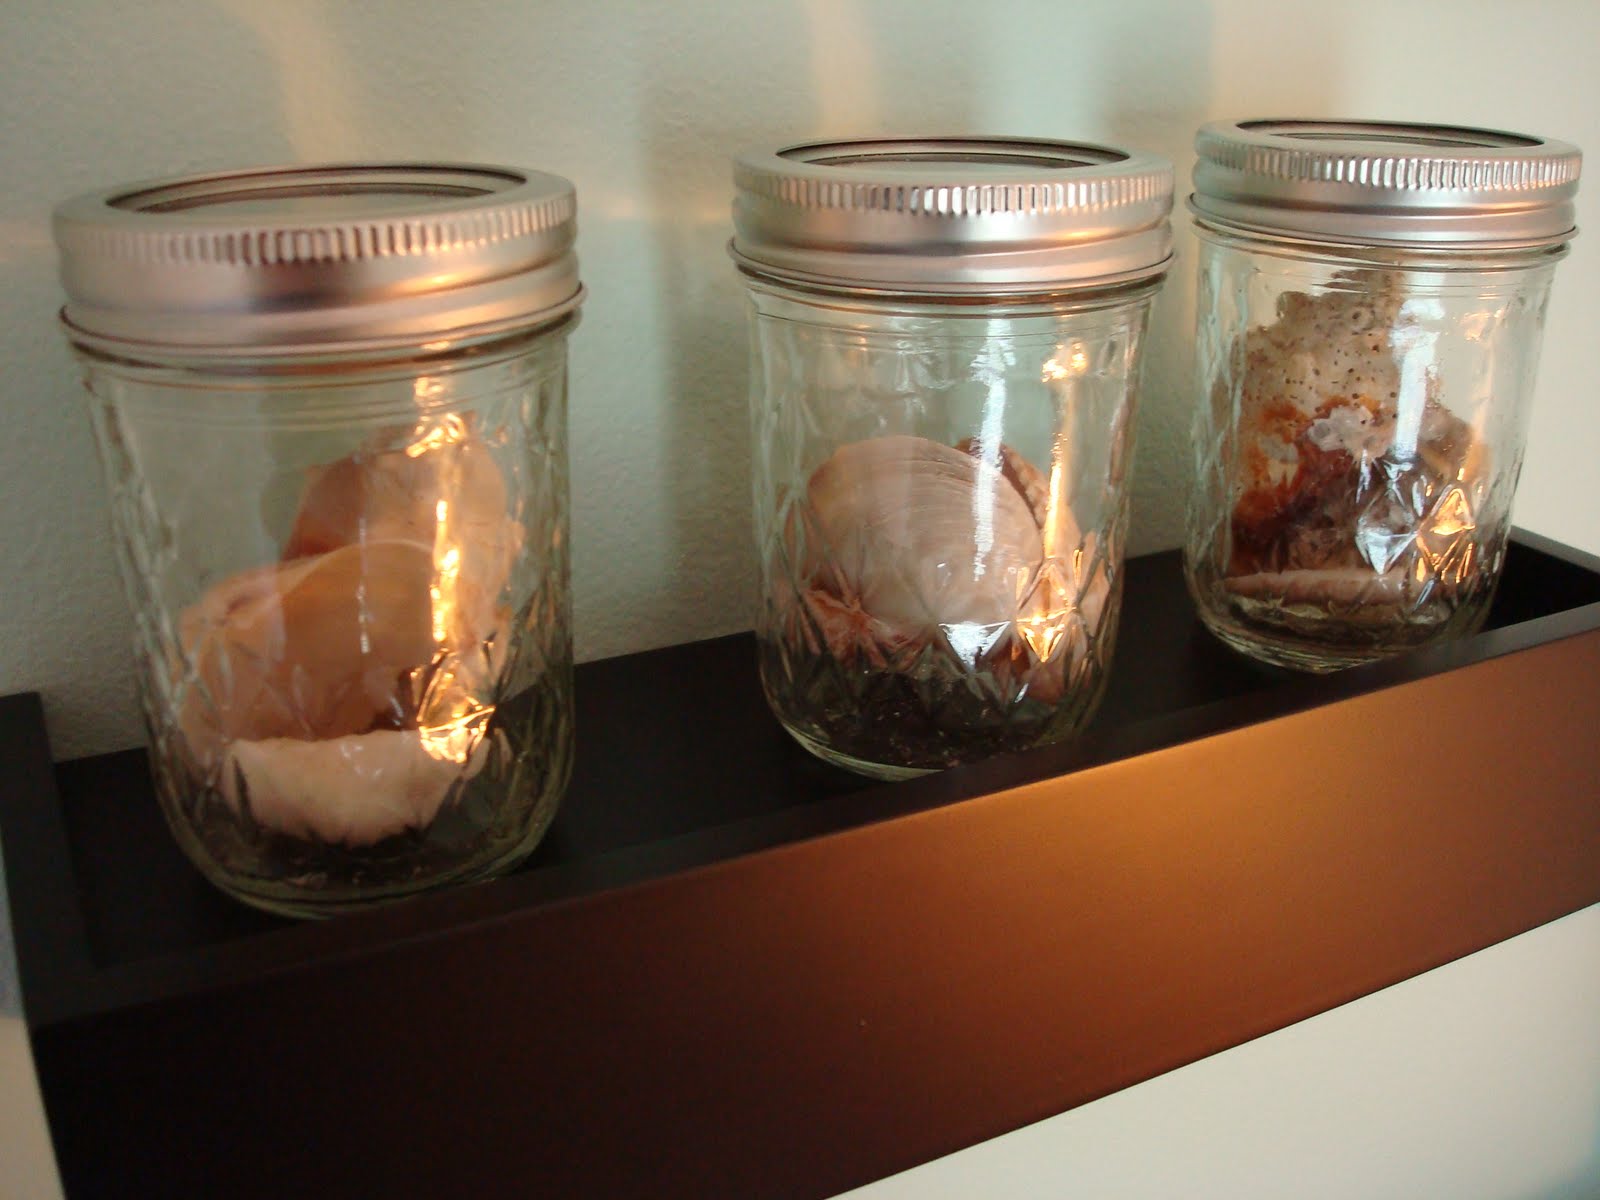
However, the best surprise that I found was one of these:


Yes, that's right.  A $100 bill.  Still taped to the inside of one of our wedding cards.  I am never that careless with cash.  So I would like to claim this as a true blessing from God...a little, "Here you go, Cait.  I told you that I even take care of the birds of the fields....why you still worry, I don't know.  But here you go.  Here is $100 cash just because.  I will always take care of you.  Always."  (It especially comes pretty timely after Justin and I had just had a conversation that stemmed from my worrying nature and lack of trust of all our recent surprising expenses that have stretched things a little.) God is so good.  I love His little surprises and the way He pours love all over His children. 

I texted Justin a picture of it, still taped in the card.  He enjoyed the surprise too.

Here's to hoping God surprises you in a sweet way today to remind you to trust in Him.


Pin It!

6.29.2010

home tour...other rooms

I hope you'll pardon my lack of commenting and visiting your blogs.  I have missed reading! However, we just got back from a week in Texas, y'all. :) I'll share more about our trip later.  However, amidst my exhaustion, I wanted to get in on the home tour over at Extraordinary Love as I have the past few weeks.  (Why do summer weeks have to fly by so quickly?!)

Justin claims our extra bedroom as one of his faves.  It was one of the rooms we gave a little makeover to pretty soon after moving in.  The poor room needed a break from bright purple walls...whew.


bed: antique iron bed that's been in my family
nightstand: courtesy of by childhood bedroom set


closet: my closet


mirror:  another piece from my childhood bedroom

The other "extra" room in our home is our office/Boone's room.  You can read all about that recent makeover here.


Thanks for stopping by to see another part of our bungalow! Hope to see pictures of yours!

Pin It!

6.26.2010

weeds, weeds, and more weeds

My dad is a landscaper.  And an amazing one at that.  (Not that I'm biased or anything.)  The farm I grew up on was the home to fields of nursery stock.  I grew up pruning shrubs in the fields, weeding beds, helping plant cuttings, watching my dad draw amazing designs, and helping unload new plants when we would sometimes get a delivery.  Weeding was always one of my least favorite jobs.  Ugh...because around my house...there was an art to pulling weeds.  My dad dared me to yank a weed out of the ground and not get the roots...huge "no, no".  As my dad always says, "If it's worth doing, it's worth doing well."  In order to pull weeds "well" you must pull from the base of the weed slowly so that you get the roots and all...if not, it will just grow right back up.  I learned the art at a young age.

Well this leads me to a confession.  We landscaped our house last summer using my dad's design.  We were so thankful to give our house more curb appeal.

Before

After


It looked beautiful...for a year...and then I let the weeds take over.  Things got busy...and I prayed my dad would look past the forest of weeds that started taking over our front beds whenever he came over.  I just wasn't in the mood for a, "Cait...you need to pull those weeds" reminder.  I'm not exaggerating when I say that some of the weeds were getting taller than the shrubs and trees in our landscaping.  So sad.


Multiply this pile by 5...the number of weeds I pulled.


This all came to an end last week when I beautified our beds, freed them of the fog of weeds, and allowed our gorgeous landscaping to shine once again, claiming their amazing curb appeal all over again.  My dad was proud, my hubby was happy I couldn't stand it anymore and took care of it so he didn't have to, and our landscaping thanked me big time.  Now we're happy to look at our little bungalow and see a similar view as the after pics above.

Pin It!

6.24.2010

if it ain't broke...

So here is something I've discovered about myself lately.  I find a decor "trick" or something that just works in our bungalow...and I repeat it somewhere else in the house.  I kinda like how it adds a flow to the house and keeps similar decor items/tricks similar throughout our house.

Photo Collages:

office

living room

Crosses in threes:

living room

bedroom

Canvas material:

kitchen table runner

living room curtains

Pillows:

guest bedroom (floral pillow)

living room chair (matching floral pillow)

So I'm thinking my decor theme statement just may be, "If it ain't broke, don't fix it."  Meaning...if it works...it works.  Don't mess up something that works.


(Disclaimer:  No, the author of this blog does not use "ain't" in her vocabulary...although, she does live in an area of the country where it is a perfectly acceptable word choice and she may be tempted to use it here and there to get a point across.)

Pin It!

6.23.2010

semi-wordless wednesday


The ingredients for a perfect, lazy summer afternoon:

-a good book or my journal
-a cold drink
-sunshine
-Boone and his pool


Pin It!

6.22.2010

home tour...master bedroom

It's that time of the week again over at Extraordinary Love's home tour.  Today I'm sharing our master bedroom.  We love how this room is nestled in our home and the window looks out amidst our backyard full of trees...it feels like we're sleeping in a tree house!


The bed was my parents' first bed...and it was handmade.  Love that!

Justin's side:


My side:


This is the matching chest of drawers.


Thanks for stopping by!


Pin It!

6.21.2010

miscellany monday

Miscellany Monday @ lowercase letters

One-My real life best friend, Cheri, just started blogging! I'm so excited! She's such a crafty gal and so funny...which I can tell is already coming out in her writing.  Her and her hubby are our "double date soulmates".  We love them mucho.  Do take a moment to stop by her blog...I'm sure you'll enjoy reading! I'm already hooked.  Click here to visit Everyday Blessings.

Two-I'm head over heels.  For a cup.  A clear, plastic tumbler from none other than Target.  It goes with me wherever I go.  I love, love that it meets all my tumbler needs: lid, straw, and doesn't sweat.  Seriously....if you are as into drinking (non-alcoholic beverages) as I am...and love a good to-go cup whenever you can find one....this tumbler was meant for you too.


Three-We celebrated a Happy 1st Birthday times two for our adorable twin nieces this weekend.  What a precious blessing these two are (and their big bro, Cooper, is as well)! Don't let the "unsure" looks on their faces confuse you....they loved diving into their strawberry cupcakes once they got going!

Gentry

Hadley

Four-I'm having a hard time being random today.  I think it may be all my unfinished grad school assignments lurking over my head.  Boo.  Hopefully I'll be back to my random self soon.

Five-I have a weird thing about these miscellany monday posts.  For some reason, I can't end with just 2 or 4 or 6 random thoughts.  It just bothers me.  I have to end on an odd number of items to make me feel better.  OCD? Maybe.  Weird?  Probably.

Happy Monday!

Pin It!

6.18.2010

office makeover


I am marking off my summer to-do list left and right! Last summer I let time get away from me too quickly (I think it was that new teacher/first summer off sort of fog) and did not get quite as much accomplished in our bungalow as I hoped.  Well I'm not letting Mr. Procrastination get the best of me this time.  The most recent accomplishment was our office makeover.  This is the tiniest room in the house and still had evidence of the last homeowner's paint colors...which we have never been too fond of.  However, the paint color was nice enough to "live with"...until now.  Here's some before pics.  (This is also "Boone's Room" hence the crate.)


We really liked the chair rail and the bottom tan color...thank you previous homeowner for taking care of that.  It was the bright coral (brighter in real life) that we weren't digging as part of our "coastal meets country" design theme.

This itty bitty room is going to be a nursery one day...unless God surprises us with multiples...ha! Then there would be no room for that craziness.  Really, it's that tiny.  It would make a wonderful walk-in closet size. ;)

Anywho...we're all about working with what we have and working with a budget here at this casa.

Since this is going to be a nursery one day, we wanted to be smart from the get-go and use Zero VOC (chemical-free) and low odor KILZ and paint. I started out with this primer found at Wal-Mart. It was only $2 more than the normal stuff that has all those yummy chemicals ready to dance around your home. (Did you know the chemicals continue to release from regular paint anywhere from one to five years after application?) It only took one coat over the crazy bright coral.


After looking at many, many paint color choices, I actually finally found a shade of Wal-Mart's Better Homes and Gardens paint--seafoam--that went perfect with what we were going for. (You can see our different paint samples taped on the wall in one of the before pics.) Because our good ol' Wally World didn't have any "green" paint options, I took the sample to Sherwin Williams and they matched it there. We went with their Harmony paint that was also Zero VOC and low odor. Again, it was only a few dollars more than the other paint options. I think the peace of mind is worth the few dollars. We're so happy with the quality of this paint that it's definitely what we will purchase from here on out for any other painting we do.


Drumroll please....here are the after pics:


We love how the light color seems to open up the room and make it feel larger.  It's also so much more soothing to look at.

Items I purchased:

-one gallon of KILZ:  approximately $18.00
-one gallon of Sherwin Williams Harmony paint in seafoam:  $35.09
-shelving from Kohls:  on sale plus coupon $12.74 for two
-accessory pillow from Target:  $9.99

Items found around the house:

-bud vase and flowers

-throw blanket
(to soften the black of the huge office chair my parents picked up for us at an auction for $20)

-rug

-pictures and frames
(pictures came from beaches we have visited on vacations or mission trips)
(frames came from a display of photos at our reception)

-ball jars with shells
( I had some left over jars from what I purchased in the winter to hold homemade hot cocoa mix for gifts)
(shells came from our fall beach trip to Ft. Myers, FL)

Other info:

-desk was bought at an unfinished furniture store and stained by my mom and me
for my townhouse in college
-you can read more about the file cabinet makeover here
-you can read more about the bookshelf makeover here

Total Cost:  $75.82

(Move over "Design on a Dime" hgtv lady.  Joking.)


When have you felt like an HGTV "design star"? What makeovers have you worked on recently or have in the works? 

Pin It!

6.17.2010

homemade treats for your four-legged baby

Boone pretty much runs the show around here.  I never, ever thought I would be so attached to a dog.  Seriously...if you have read my blog for long at all, you know he's pretty well-loved and spoiled around here.  And I'm very much attached to my four-legged baby.  One of the things on my summer to-do list was make him homemade treats.  I don't think it was even a week into summer when I was already crossing this one off the list.

Justin bought a great book, Country Wisdom & Know-How, back in the winter.  This book is the wisdom of all your grandparents and great-grandparents combined about "living off the land".  We are constantly picking this book up and reading bits and pieces to each other.  It's amazing.  Even if you're not a "country girl", I would suggest this book if you have even a slight interest in DIY, homegrown, or homemade.  One section is all about homemade treats and remedies for your animals.  I found a great recipe for Peanut Butter Biscuits in this book (p. 56).  The great thing about the recipes is you can adapt them however you want, and everything is edible for humans....so you're not really purchasing items you won't also use to create your own meals.  (My father-in-law did attempt to try a biscuit...I wasn't here when he did...but Justin said it was a little too hard for him.  So this is just a little warning not to make these to hand out to your four-legged children and your human children.)

These treats are Boone approved...he gives them four paws up.

Ingredients:
-4 cups whole-wheat flour
-2 cups quick-cooking oats
-2 1/2 cups warm water
-1/2 cup all-natural peanut butter (no sugar or salt added)
-1/4 cup carob chips
(I didn't use the carob chips because I couldn't make it to the health food store...these are optional)


Boone already showing interest in this....


1.  Preheat the oven to 350.  In a large bowl, combine all ingredients; mix well.


2.  On a lightly floured surface, knead the dough until it is firm.  If the dough is too sticky, add warm water, 1 tablespoon at a time, while continuing to knead.  (I didn't need to add more water.)


3.  Roll the dough to a 1/4 inch thickness.  Cut with the cookie cutter of your choice.  (I didn't have any on hand so I used a butter knife and measuring cups to create circles.)  Transfer biscuits to a baking sheet.


Get creative! (I did bones too.)


Boone peaking in.


4.  Bake the biscuits for 40 minutes.  Turn off the heat and let the biscuits stand in the oven until hard, 1 to 2 hours.


5.  Let your puppy lick the spoon at the end.  (Okay, so I added this step.)


Hope your furry friends enjoy!

Pin It!

6.16.2010

no sew curtains and a unique fabric choice

So this project has been a long time coming.  Our big front window in our living room has been in need of some curtain lovin' since we moved in and ripped down the ugly not-our-style curtains.  I am a little obsessed over some amazing DIY home improvement blogs.  This project is the outcome of inspiration found on two must-read blogs:  Young House Love (thanks to Sherry for the no-sew idea and inspiration) and The Lettered Cottage (thanks to Layla for the amazing curtain fabric idea).

Our big window looked something like this:


And now it looks like this:


Love, love the coziness and texture these curtains bring to our living room! (Sorry for the different lighting in the pictures...but you get the idea.)

So the fabric of choice?


Yes, that's right.  Canvas drop cloths from good ol' Wally World....one for each panel.

And how did I pull off this no-sew trick?


My handy, dandy ironing board, iron (oh was it happy to be used), and Heat-n-Bond ultra hold adhesive.  You can find this at Wal-Mart or Michael's...and I'm sure other places where craft supplies are sold.

My first step was to measure the length that I would need the curtains.  Because this window has the arched top, I couldn't hang them above the window to add even more drama so the window looked larger..I was only able to frame the outside of the windows to pull off the "bigger window" look.  I knew I wanted the curtains to sweep the floor so the length I ended up needing was 6 feet 10 inches.

I laid one drop cloth out on my floor, face down so that the seems were facing up.  I measured my length along the 9' side of the drop cloth so that the 6' width remained the same.  I measured about an inch and a half more than what I needed at the bottom (6 feet 12 1/2 inches to be exact) so that I would have room to add the adhesive, create my hemline, and still have the desired lenght when the hem was folded up.

Once I did that, I laid the drop cloth onto the ironing board with the cut part on the ironing board.


You'll want to follow the directions on the Heat-n-Bond but it worked for me to have my iron on medium setting when taking my first step of unrolling the adhesive along the edge of the cloth (below my mark for my length). You will slowly iron the adhesive (paper side up) onto the material (about 2 seconds per area).


Your next step is to let the adhesive cool and then slowly peel off the paper. Don't worry about ripping anything off..the entire paper part comes off while leaving the clear adhesive on the material.


Fold the "nasty/rough" edge up, creating your hem. Then iron (the cotton setting worked for me) along the flap that is folded over (material to material), about 8 seconds per area, to bond the adhesive. When it cools a little, go back and feel under the flap along the top cut edge to make sure no parts are left unattached. If you do find a part that didn't attach, just iron back over it.  This stuff works like magic and bonds the hem tightly...it's even washable!


Your hemline should look crisp and flawless like this...easy as pie!


Repeat these steps for your second drop cloth (second panel).

Choose the curtain rod of your personal preference.  However, here's the trick for hanging "hole less" curtains.....drapery rings.


They're so neat and make the curtains so easy to pull across the windows if needed.

There you have it....no sew and a very unique fabric choice.  The best part...the frugal aspect of this:
canvas drop cloths--$9.97 each (I searched...this really is a deal for curtains)
drapery rings--two packets of 7 at $4.96 each
Heat-n-Bond Ultra Hold--$2.17 and some left over
drapery rod (my least frugal find due to our wide window)--$31.88
Total cost:  $63.91

And with the scraps left over, I made a cutesy table runner to keep the similar pattern and texture in another room in the house:

Lay seam side up.


Measure to your desired taste.
Iron on adhesive on both long sides, creating a crisp hem on both long sides of the material.

And you've got a runner....love the "sandy" texture it adds to our "coastal meets country" style going on in our bungalow {yep, that's our own personal take on our style}.


What unique material have you used for projects around the house? Already using this amazing Heat-n-Bond stuff and haven't been in the dark as long as me? What projects have you created?
Be inspired!

p.s. to my sewing machine...no I have not forgotten you, and yes, I promise I still plan on bringing you out of the box.  It just takes a lot of bravery...something I haven't quite mustered up yet.  I'll get there.


Pin It!
Related Posts with Thumbnails