Showing posts with label painting furniture. Show all posts

1.20.2011

DIY--distressed furniture

I love the distressed paint look on furniture.  I guess it's the love for country decor in me.  Maybe? Whatever it is, I had to attempt my own distressed furniture project.  This little table that I bought at a local flea market for around $20 was the perfect candidate for my first attempt!


The first step was to sand the table to prep it for painting.  (I used hubby's sander.)  I decided to leave the top of the table the original finish and just paint the legs.


To get into small crevices I used sandpaper.


After sanding, wipe the furniture down to get rid of the dust before painting.


I used a medium base paint (a very light tan) to paint the table.  It will take a couple coats.


Once the paint is dry, to distress, sand various, random places where normal ware and tear would occur to the furniture.  For example, the edges of the legs are places where you usually see the paint worn down on furniture.  (Do this step until you have distressed the furniture to your liking.)


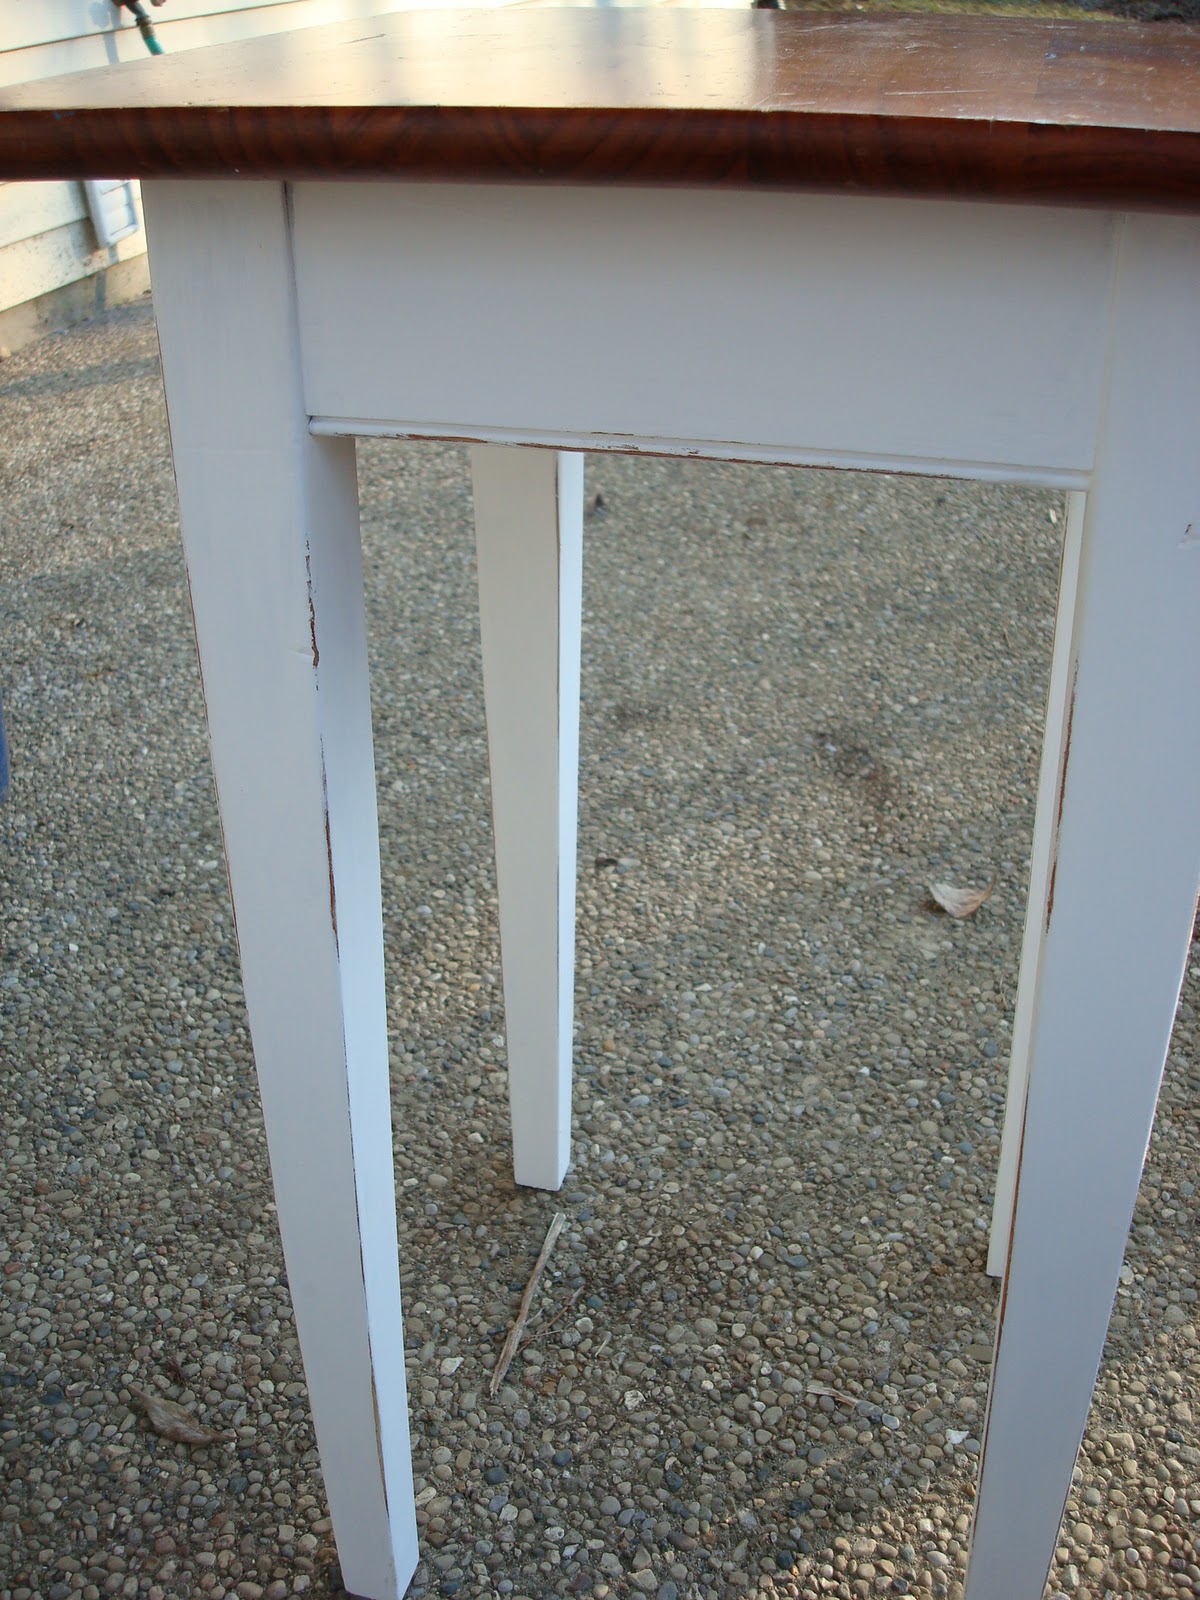
Next time I may distress more on the flat surfaces.  However, I was pretty happy with the finished project! (Actually my idea was for re-sale and we ended up keeping it in our living room!)


So is distressed furniture one of your likes among home decor? Have you ever distressed furniture?

Pin It!

6.05.2010

bookshelf makeover

We recently did a little overhaul in our office.  It was the one room that still felt extremely unfinished and completely cluttered from our move almost two years ago.  I was a goofball and didn't take before pics so the after pics really won't be impressive to you becuase I will assure you that it's nothing very fancy.  However, we're happy with our little office/Boone's room and that's what matters.  (What really matters is I don't feel a vein in my neck popping out from stress each time I walk in the room now.  I kid.)

However, I did want to share a bookshelf makeover we did for the office.  Below is a bookshelf we got from Justin's grandparent's house.  Justin's mom thinks this is a bookshelf that came with an order of encyclopedias they purchased.  Pretty neat.  Very sturdy!

Before


After


So how did we make this magic happen? Sanding and painting.  So simple.  I'm convinced that a fresh coat of white or light cream paint can freshen and liven up absolutely anything....scratches and all.

The steps:
{1} clean off dust/dirt/grime with a moist towel.
{2} sand the entire piece of furniture with an electric sander.  (You can just use sandpaper and do this by hand if you choose.)
{3} paint as many coats as necessary. (this took two...and really could have possibly used a third)

We found this paint at Wally World for less than $5 and it worked like a charm.  (It has lasted through two makeovers now...pics to come on DIY table distressing.)


Happy Saturday!


Pin It!
Related Posts with Thumbnails